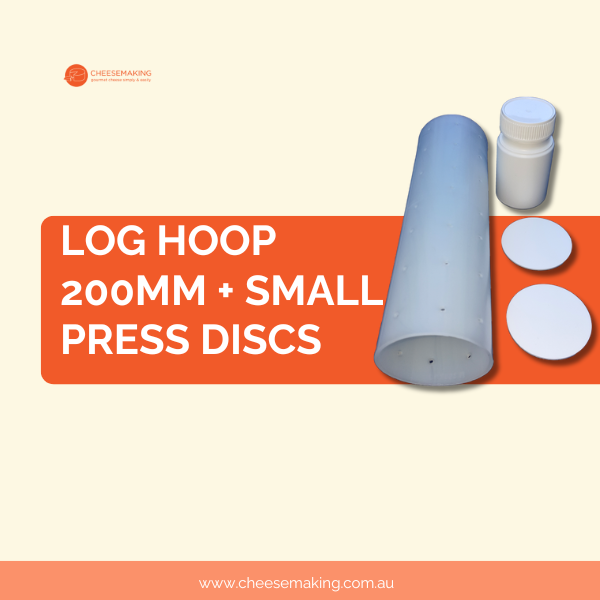
- 200mm log hoop + 55mm diameter disc @ 2mm thick x 2. Plastic lidded bottle is not included.
- After filling hoop with lactic acid set (Chabichou Style) cheese, place a disc on each end. The turning of the hoop is helped by adding a piece of cheese cloth on each end of the hoop, the blue cloth is held in place by a thick rubber band.
- You will need to a small plastic bottle e.g., tablet bottle that fits within the hoop diameter and fill that bottle with sand, coins, or fishing sinkers etc., as a weight.
- Wait for 4 hours after hooping before very gently applying pressure and keep pressure on for next 24 hours.
- Turning cheese regularly over next 24 hours is required.
- Cheese can be Geotrichum, white mould or washed rind ripened.
- Made of heavy-duty food grade
- Ripening cultures such as DH40 and CU77 may be required to neutralise acidity on the lactic acid cheese.
Hint for using the pressed log hoop:
With the log hoop + end caps. Before you start filling the hoop, and so you can turn the hoop later, place a 100 to 150mm square piece of cheese cloth on the base of the hoop and hold it in place with a rubber band (this stops the curd from falling out when you turn it later). Place one of the discs into the hoop so it falls onto the blue cloth. Stand or tie the hoop against something so it will not fall over when it is full of curd. Fill the hoop full of lactic curd, wait 10 mins and add some more curd, do this several times. Aprox 4 hours after you added the last of the curd, this allows the curd level to drop, you will need to apply light pressure to the top of the hoop. Maybe a small plastic bottle (e.g., a tablet bottle works well) that fits loosely into the hoop. Half fill the tablet bottle with e.g., sinkers or sand or … carefully lower the bottle with sinkers/sand on top of the curd (don’t drop it in place). Leave for 1 hour. Any time that you move the hoop hold the blue cloth in place or the pressure of the curd will push the blue cloth away from the hoop. Tilt the hoop to remove the bottle. Place a blue cloth and white disc to the top of the hoop, just like you did at the beginning. So, both sides now have the blue cloth. Turn the hoop upside down, remove the blue cloth from the ‘new top’ then place the weighted bottle back in the hoop for more pressing. After a few hours turn the hoop again and this time add a tablet bottle full of weights. Press for 24 up to 48 hours. Ambient temp for pressing.
Add dry salt to the finished cheese. Optionally add white mould and/or Geotrichum to the milk and treat the cheese as you would a camembert to get white mould coverage. Or eat as a fresh cheese.