Making pressed cheese on a cold or cool day requires some general awareness of the temperature of the cheesemaking room so that you can, if necessary, modify some parts of your cheesemaking process when it comes time to hoop or press your cheese. Cheese curd that is hooped cold or is left in the press at a cold temperature overnight, may:
- not reach the desired acidity level
- have a higher moisture level
- not look even and smooth on the surface
- have excessive openings within the core of the cheese
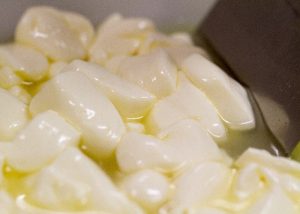 When cheese is pressed, the aim is for the curd particles to knit together and form the desired shape. This fusion of the thousands of pieces of curd particles relies on two processes: firstly, the curd particles under pressure have to ‘flow’, which causes them to flatten and increase in surface area and then secondly these curd particles have to bond to each other. When cool or cold or dry curd particles are placed into a cheese hoop, the contact area between the curd particles is lessened; basically, the curd has become firmer and less resilient to the flow.
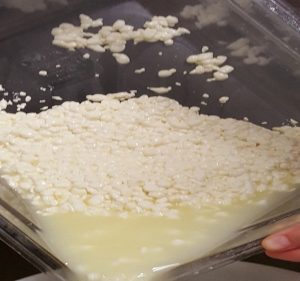
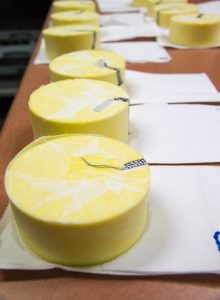
The look of a finished cheese that is pressed while cold can be uneven and rough with an open texture, both internally or externally with obvious definitions of the curd particles instead of a close-knit smooth texture. Conversely, warmed curd particles are more resilient and have a better level of distortion and knit together much better than colder curd.
Both the moisture and acidity levels are very important attributes for the subsequent ripening process in helping achieve the final quality of the cheese as it matures. A cheese that has a higher-than-expected moisture level will probably mature faster than expected and have a higher level of protein degradation, possibly producing bitter compounds and a weaker pasty body.
 The best way to achieve correct pressing on a cool day is:
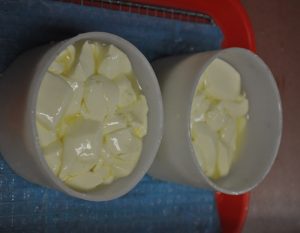
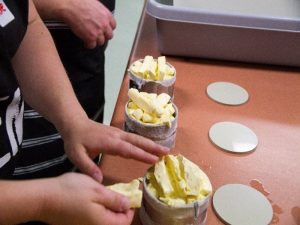
- Ensure the curds and whey are at the recipe temperature up to hooping time. This is straightforward when the curds are in the whey. It is easier to keep a liquid warm. But for cheeses such as Cheddar where the whey and the curds are separated before pressing, the curds can be out of the liquid whey for over an hour.
- Keeping the cheesemaking room above 27°C is sufficient when filling your hoops. Then filling of the hoop needs to be completed reasonably quickly, so when the curd is removed from the warm whey, it does not have time to cool off or to dry off before being pressed.
 During the actual pressing stage, the hoop full of warm curd should not be allowed to cool, this is especially important for the first few hours after pressing has commenced and that warmth ideally needs to continue overnight until the cheese is removed from the hop. This warmth allows the starter culture to continue post hooping acidification, the conversion of lactose to lactic acid, which in turn assists syneresis, resulting in an increase in acidity and a decrease in the moisture content of the cheese. As the starter culture numbers grow, so will the number of enzymes critical for ripening also increase.
- Once removed from the hoop, the cheese must be kept at the recommended ripening temperature. This temperature is usually significantly lower than the overnight pressing temperature and is easier to maintain.
 During the actual pressing stage, the hoop full of warm curd should not be allowed to cool, this is especially important for the first few hours after pressing has commenced and that warmth ideally needs to continue overnight until the cheese is removed from the hop. This warmth allows the starter culture to continue post hooping acidification, the conversion of lactose to lactic acid, which in turn assists syneresis, resulting in an increase in acidity and a decrease in the moisture content of the cheese. As the starter culture numbers grow, so will the number of enzymes critical for ripening also increase.